How to adjust the water level in the toilet tank
The water in the toilet tank is used to flush the toilet bowl. When the toilet bowl is not cleaned during flushing, the fill level of water in the toilet tank should increase. If you feel the need to conserve water, you can choose to lower the water level. A float is installed inside the toilet tank to control this level. When the tank begins to fill after rinsing, the flow of water stops automatically according to a preset level. This is because the float is lifted by the buoyancy of the rising water and closes the water valve through which the water enters the tank. Here we show you how to make adjustments to that water level.
- How to repair toilet tank balls and products
- How to adjust the water level in the toilet tank
Water level too high
Step 1: When the float ball is too high, it allows water to seep into the overflow pipe. To resolve this, bend the float arm slightly to keep the water level one inch below the top of the overflow pipe. Verify that enough water reaches the toilet bowl by flushing it. If not flushing properly, gently adjust the float ball until you have the proper water pressure needed to flush the toilet.
Step 2: A damaged float ball will not rise to close the ball faucet through which the water flows. Using pliers, grasp the float arm and unscrew the float ball counterclockwise. Apply plumber's tape or petroleum jelly to the floating arm threads before attaching a new floating ball.
Water intake assembly
Step 1: If your toilet has a water intake assembly instead of a floating ball, pinch the clip attached to the thin metal rod.
Step 2: Slide the dipstick and attached cup down to lower the water level.
Step 3: To increase the water level, slide the clip with the cup up. Be careful to move the clip about an inch at a time either way.
Metered fill valve
Step 1: If the tank has a metered valve instead of a float, adjust the water level with a screwdriver to turn the knob counterclockwise and lower the water level.
Step 2 - Turn the knob clockwise to increase the water level. Be careful to turn the knob only half way at a time.
Ball dick
The ball faucet opens and closes according to the rise and fall of the float balls and controls the flow of water to the tank. The floating arm pushes the valve plunger and washer to stop the flow of water in the plunger style ball faucet. If it is a diaphragm type ball wrench, the plunger pushes against the rubber diaphragm.
Step 1: Close the water connection to the toilet and flush it.
Step 2: Slide the float arm out of the way so you can reach the assembly. Remove the screws around the ball faucet assembly to reach the washers or diaphragm. Use a small screwdriver to remove the washers from the valve plunger.
Step 3: Clean the sediment inside the ball tap and washer with a little vinegar and a small brush.
Step 4: reassemble the parts after cleaning. If the problem persists even after that, replace the ball valve.
Wednesday, June 24, 2020
Saturday, June 20, 2020
Sharpening Chainsaw Chain
How to sharpen the chain of a chainsaw
Sharpening the chain of our chainsaw is a maintenance task that we must do often, since the cutting capacity and durability of this will depend largely on how sharp it is.
- How to sharpening chainsaw chain and products
- How to sharpen the chainsaw with file manually
But if you have been with one of them for a short time or simply have never done it, you may have the question of how to sharpen your chainsaw and it is normal, so in this article we want to explain step by step how to sharpen the chain of your chainsaw.
Steps on how to sharpen the chain of a chainsaw correctly and easily
How to sharpen the chainsaw with file manually
Explaining how to sharpen a chainsaw can be tricky. Therefore, before writing the steps to follow, we will include an explanatory video for those who prefer to see it visually instead of reading.
The 10 steps to follow for sharpening chainsaw chain with file:
Once these steps are done, you just have to lubricate the chain and check the tension of the chain. Once this is reviewed, the chainsaw will be ready for use.
Sharpening the chain of our chainsaw is a maintenance task that we must do often, since the cutting capacity and durability of this will depend largely on how sharp it is.
- How to sharpening chainsaw chain and products
- How to sharpen the chainsaw with file manually
But if you have been with one of them for a short time or simply have never done it, you may have the question of how to sharpen your chainsaw and it is normal, so in this article we want to explain step by step how to sharpen the chain of your chainsaw.
Steps on how to sharpen the chain of a chainsaw correctly and easily
How to sharpen the chainsaw with file manually
Explaining how to sharpen a chainsaw can be tricky. Therefore, before writing the steps to follow, we will include an explanatory video for those who prefer to see it visually instead of reading.
The 10 steps to follow for sharpening chainsaw chain with file:
- 1. You must determine the size or gauge of your chainsaw chain. First of all you will need to buy a rotary wheel or file to sharpen chainsaw chains which match the chain tooth. You must be especially careful in this, since there are different file diameters.
- 2. Clean the chain. To do this you can use a solvent, a degreasing detergent or a little gasoline to clean the oil, dirt and particles from the chain. You can use a brush to clean properly.
- 3. Check each link to see if they are worn or damaged. This step is important as there is some danger in the event that individual teeth are chipped, broken, or bent. As a basic rule, the top of the tooth should be at least 0.6 cm long. If that length is shorter there is a risk that the chain may break when in operation. Therefore it is important to discard the chain in case it is damaged or worn.
- 4. Place the chainsaw on a stable surface or hold the sword or rapier with an element that allows it to be fixed and prevents movement. It is important that the chainsaw is stable in order to sharpen the chainsaw correctly and safely.
- 5. Set a main starting blade. For this it is necessary that you mark it with some tied wire or with a marker. This is necessary to have a starting point and not make the mistake of sharpening a tooth twice, which would lead to increased wear.
- 6. Place the file in the front notch of the blade. We must introduce the file in the tooth gap with a position about 30º, so that it fits perfectly with the front curve of the tooth.
- 7. Start filing. Slide the file keeping the previous position carefully and taking care that the possible remains of the file fall down to discard them.
- 8. Perform the procedure with all teeth. Following the guide of the starting point, file all the teeth in that position.
- 9. Invert the sides of the saw and start sharpening the teeth in the other direction.
- 10. Check the depth gauges and file them if necessary. These are the hook-shaped links. These should have a difference in height with the top of the cutting teeth of about 0.3 cm to ensure that the teeth work properly. If the distance is less, you should carefully file them with a flat file until you reach the proper height.
Once these steps are done, you just have to lubricate the chain and check the tension of the chain. Once this is reviewed, the chainsaw will be ready for use.
Tuesday, May 5, 2020
Fig & Leaf (35 Pack) Square Baking Pans with LIDS | Size 8” x 8” | Heavy Duty 32 Gauge l Disposable Aluminum Foil Tins l Portable Food Containers l Top Baker’s Choice for Cake Roasting Oven Toaster
This is the correct way to wash the baking pan, no trace of stains!
Washing the cake pan is one of my worst nightmares, although I enjoy baking and eating the cake afterwards, I hate with all my soul to wash and more when it comes to molds, because with use it becomes more difficult, but I discovered a way to make it very easy.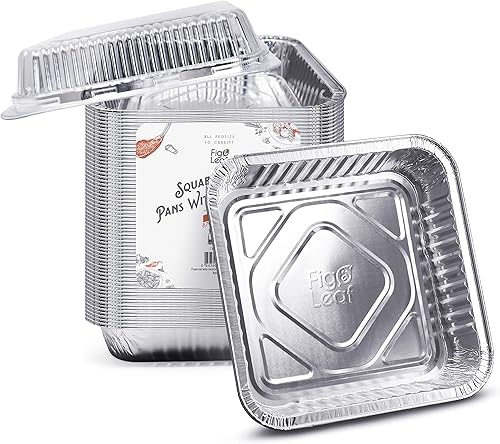

Prepare this red velvet cake and then worry about washing the mold.
Now, if you have problems like me, you should pay close attention. You do not need much effort, time or money, washing will become so common that you will not worry about the mold, it will also be so clean that you will not want to stop using it.
It happened to me!
I understand that with the passage of time the molds begin to wear out and have horrible stripes that make washing something (almost) impossible, but there is a solution and I am not talking about buying a new mold, the one you have will be perfect.
You will need to:
- 1 tablespoon of baking soda
- Atomizer
- White vinegar
- Brush
With these ingredients, washing cake molds is, seriously, something so easy that you will not believe that it is real and effective.
To make it look like new:
- Cover the bottom of the pan with the baking soda
- Sprinkle the white vinegar over the baking soda
- Carve with the brush and let it rest for a few minutes
- Over time, wash like you normally do
- Let dry
Now, eat your cake with all the tranquility in the world because washing cake molds is a very simple task from today, don't you think?
Fig & Leaf (35 Pack) Square Baking Pans with LIDS | Size 8” x 8” | Heavy Duty 32 Gauge l Disposable Aluminum Foil Tins l Portable Food Containers l Top Baker’s Choice for Cake Roasting Oven Toaster
Anchor Hocking TrueFit Bakeware Glass Casserole Dish with Cover and Storage Lid, Cherry, 3-Piece Set
How to clean the oven glass
Whether you make lasagna or casserole, there is always a splash. This can cause food to build up on the oven glass over time. You can make oven glass always look its best by doing routine cleaning, removing stubborn stains and routine maintenance.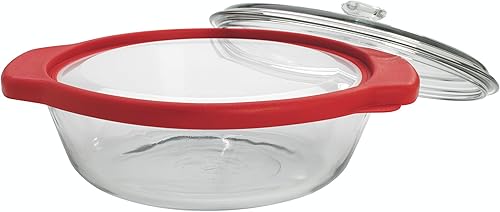
Method 1 Do a routine cleaning
one
Make a baking soda paste. Mix a solution with 3 parts water and 1 part baking soda in a shallow bowl until the baking soda dissolves. The texture will be like that of a thin paste. Open the oven and spread the mixture on the door glass. You can spread it with your fingers on all the corners of the glass. [one]
2
Let the baking soda sit in the glass for 15 minutes. The baking soda mixture will begin to loosen the dirt. Set 15 minutes on a stopwatch.
3
Rub the glass with the rough side of a sponge. After the baking soda mix has had time to smooth out the door splatters, scrub it with a kitchen sponge. Use the rough side to peel off as much sticky food as possible. [2]
4
Rinse with water. Rinse the sponge and remove the baking soda in side-to-side movements. Rinse and squeeze the sponge from time to time until all the baking soda is removed.
5
Dry the glass with a clean cloth. Use a clean, dry kitchen cloth to dry the oven door. If there is still any baking soda left, use a damp sponge to clean it off and re-dry those areas. [3]
6
Use a glass cleaner to remove stains. To keep the glass shiny and crisp, use a commercial window and glass cleaner, such as Windex, to give the glass one last pass. Spray some of the cleaner on a paper towel and wipe from one side to the other. You don't need to dry again. The oven is now ready to use as usual.
Method 2 Remove tough stains
one
Heat the oven to 35 or 50 ° C (100 or 125 ° F). To remove stubborn stains, you should heat the oven to a very low temperature. When the oven has reached this temperature, turn it off and open the door for 1 minute to cool it down a bit. The right temperature will be when you feel the door is warm, but not too hot to the touch. [4]
Do not heat the oven to more than 50 ° C (125 ° F). If the door gets too hot, you could get burned.
Food particles that are difficult to remove will soften slightly with heat.
2
Spray the warm glass with a suitable oven cleaner. Spray the glass with an oven safe cleaner such as Easy-Off Oven Cleaner or Oven Pride. Use only enough to cover the glass, but not so much that it puddles. Close the door for 5 minutes.
SPECIALIST COUNCIL
"The easiest way to clean the oven door glass is to spray a special cleaner, let it settle, and then clean it."
Bridgett Price
Bridgett Price
Maid Easy cleaning guru and co-owner
3
Rub with a kitchen sponge. Open the oven and rub the glass with a damp kitchen sponge. Make circular movements to better detach the stuck food. When you're done, rinse the area with a clean, damp sponge.
4
Dry the glass with a clean cloth. Use a clean, dry kitchen cloth to dry the door. If there are still some sticky food scraps left, scrape them off with a straight razor. [5]
Method 3 Do routine maintenance
one
Clean the oven glass once a week. To keep the oven glass looking good, clean it weekly with baking soda. Put a reminder on your calendar to make it a part of your cleaning routine. [6]
2
Clean splashes immediately. If the food you prepare splashes in the oven, try to clean it as soon as possible when the glass has cooled. This way, you will prevent stains from baking again, which will make cleaning them much more difficult.
3
Use the oven's self-cleaning feature once a month. If your oven has a self-cleaning option, use it once a month to keep it dirt-free. This high temperature will neutralize spatter from the oven and allow you to ensure that the oven functions are ideal.
Things you will need
- sodium bicarbonate
- Water
- dish towel
- sponge
- oven cleaner
- Razor blade
Anchor Hocking TrueFit Bakeware Glass Casserole Dish with Cover and Storage Lid, Cherry, 3-Piece Set
Sunday, May 3, 2020
Pyrex Easy Grab Glass Food Bakeware and Storage Container (2-Quart, BPA Free Lid)
How to Clean Up Burnt Spills on Silicone Bakeware
Silicone can be one of the most popular materials for modern baking sheets. Durable for all temperatures, silicone bakeware can literally be removed from the oven and in the right place for the freezer. The flexible material allows you to twist even pop food out of the mold, instead of digging to get your treats out of your molds. Best of all, silicone bakeware is quite easy to clean. Even if you have burnt food stains on your silicone bakeware, use the proper methods and materials to keep your bakeware looking good as new.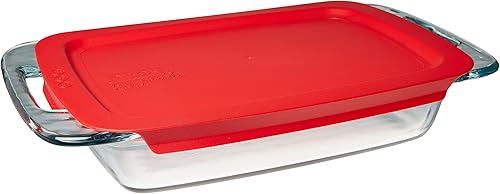
Instructions
1
Mix warm water and detergent until foam forms.
2
Soak a washrag or sponge in soap and water and clean the silicone bakeware. This will remove most of the dirt and food scraps.
3
Soak the bakeware overnight in warm, soapy water. Clean it in the morning with a washrag soaked in warm, soapy water. Soaking will remove many burnt spots or spill marks.
4
Mix three parts of baking soda and one part of water to make a paste. Spread the paste over the burnt spots marks. Allow the paste to sit on the spots for at least 30 minutes.
5
Scrape the remaining batter and burnt marks spilling out of the bakeware with a plastic spatula or a mesh pad. Wash normally to remove residual stain or paste.
Tips:
Never use steel wool or metal utensils with silicone bakeware, as they can scratch the surface.
Pyrex Easy Grab Glass Food Bakeware and Storage Container (2-Quart, BPA Free Lid)
CorningWare French White Round Bakeware Set (10-Piece, White)
How to Clean Aluminum Bakeware
Aluminum bakeware is durable and long lasting. It can withstand high cooking temperatures, but food can get stuck on the surface of the pan. Removing stuck food and treating kitchen utensils with cream of tartar will clean it without causing scratches that can occur from abrasive cleaners. Never use metal utensils to clean aluminum pans, as they can scratch the surface, causing rust.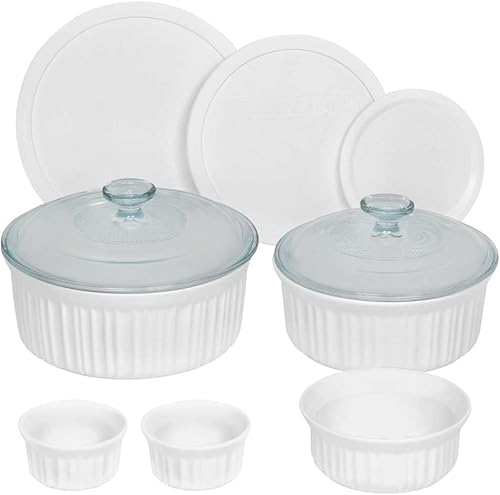
Aluminum bakeware includes casserole dishes.
Step 1
Fill the aluminum bakeware with warm water. Add enough liquid soap to foam. Shake the water with a sponge. Soak the bakeware for an hour. Use a wooden spatula to scrape loose food particles.
Step 2
Wash the bakeware with clean water. Fill with 1 qt. of clean water and 2 tablespoons. of cream of tartar.
step 3
Place the bakeware in the oven at 400 degrees Fahrenheit until the water boils. Leave in the oven for 10 minutes. Remove the utensil and pour the water.
Step 4
Fill the bakeware with soap and water. Rub the inside with a soft sponge. Wash the kitchen and dry with a clean towel.
CorningWare French White Round Bakeware Set (10-Piece, White)
Thursday, April 30, 2020
HIC Harold Import Co. 98021-3 HIC Porcelain Oval Au Gratin (Set of 3), 1 EA
10 tips for a perfect gratin
It is one of the most economical and most appreciated dishes by all members of the family. If you want to earn good points with your children, follow our tips for a successful gratin every time. Chef's hat, apron, cook!The king of gourmet recycling cooks itself both salty and sweet. The gratin allows many associations, traditional ones like the gratin dauphinois, but also original gratin recipes! Either way, it's fast, quirky and nutritious food. But what is a gratin? It used to designate the cooking container that was "scraped" to remove the grilled part. Much later, the cooking dish on its way encountered the Parmentier mince and then the gratin dauphinois to become a recipe in its own right.
1- The gratin makes too much water
Add flour or powdered milk to your dish. If you cook zucchini, tomatoes or endives, eat them beforehand in salt. Wash under cold water before adding them to your ingredients.
2- The gratin is not soft enough
Add a few drops of hot milk halfway through cooking. This will allow you to re-moisten the dish and make your gratin dauphinois much more tender.
3- The gratin does not have a pretty golden crust
Sprinkle with store-bought or homemade breadcrumbs, the crumble paste. Add grated cheese of your choice (Gruyère, Parmesan, Comté, mozzarella, Roquefort). Choose a cheese with character. If you have not planned its ingredients, use a simple drizzle of olive oil or butter cut into pieces.
4- The gratin is not well cooked
Have you thought about preheating your oven before? No ? Big mistake / Indeed, preheating your oven prevents temperature variations during baking the gratin (cake ...). This action also prevents food from drying out too quickly. In the case of gratin, if you put it in a cold oven, the heating time will be longer and your dish may be too dry or too hard.
5- The gratin is all burnt
Chef's tip: remember to put an aluminum foil halfway through cooking. It will prevent your gratin from being too browned!
6- To cook the gratin faster
You are in a hurry, your guests are arriving in a short time and you have a gratin to put in the oven. Start by precooking all of your vegetables. The advantage is that they will no longer be able to soak while the gratin is cooking. Put it in the oven and leave it simply toasted under the grill mode of the oven for 15 to 20 min.
7- I like the gratin but I want it lighter
Replace the cream with a light variant or make a combination of 50% cream-50% milk. And try potato variants, such as Alain Ducasse's famous squash gratin. or put frozen vegetables in it like zucchini rings.
8- I want to give my gratin more flavor
To do this, rub the sides of the dish with a strong condiment: garlic, shallot, onion, a ginger rhizome ... Add spices (nutmeg, paprika ...) to your béchamel sauce or cream.
9- The binder of my gratin does not take
Bechamel is known for binding gratins, but if you don't like that, there are other alternatives: milk or vegetable milk, crème fraîche, omelette, etc.
10- My gratin has lumps
To avoid this, mix the milk with the crème fraîche separately, beating with a whisk, then pour over the gratin.
HIC Harold Import Co. 98021-3 HIC Porcelain Oval Au Gratin (Set of 3), 1 EA
Subscribe to:
Posts (Atom)