How to cut a log house yourself?

The use of modern buildings and old interiors has become popular, except for the construction of log houses. Building a house from a hammam or stumps is considered the key to wealth and pleasure.
A wooden house holds heat well, has good sound insulation, but it is necessary to cut the log house correctly in order to keep all these qualities.
Buildings can keep warm and keep a pleasant woody odor. Being inside, you can feel the hot and dry air. This is because wooden walls have natural ventilation capability. But to maintain quality for years, you need to know how to cut a log house with your own hands.
Walls made of logs and beams are more durable, warm and well soundproofed. Of course, creating logs made of wood is easier than logs, because modern woodworking technology ensures you receive a beam of excellent quality.
Before building a log house, you need to think that this pleasure is not cheap, but it has its advantages. For example, with the tool, you only need:
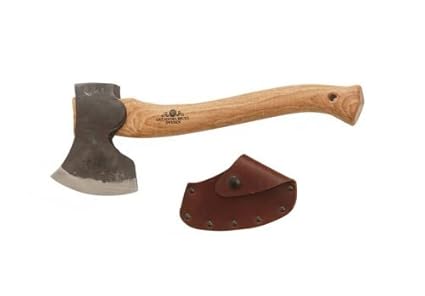
To cut a log house you need an ax, a saw, a chisel.
AX;
He saw;
a chisel;
a pen;
a planer;
Roulette.
However, the installation also requires a construction feature that is not easy to purchase but can be built with your own hands. To do this, you need a wooden block with rounded edges sanding. Two metal bands The hacksaw sharpens at one end of the bands. Using adhesive tape, the blind ends of the strips are attached to the busbar handle. The ends of the plates are fixed with threaded and nut bolts in order to bend to the desired size. By tightening the nuts, the size is adjusted.
Before you start the mincing process, you need to decide which type will be used better, but you must recognize each one individually.
Felling in the claw: some features
"In the cloud" chopping scheme.
Such a cut has advantages and disadvantages. Advantages include the following features:
least time-consuming treatment of the chopping compounds;
By laying a full-length log, there is the possibility of saving such a floor.
Cons:
corners are not well protected;
logging is considered unstable;
appearance is not very aesthetic.
Log cabinets are characterized by their correct shape, because the bars should be chosen of the same thickness as they are "clean angled" to give an aesthetic appearance. It is also important to remember that as the thickness of the beam increases, the house will be warmer. This is due to the minimum number of fasteners.
Marking chopping logs in "Claw"
Using a grinding machine or planer, one side of the timber is machined on a flat surface to function as the interior of the building. The opposite side should only be machined with an edge approximately 2.5 parts from the diameter of the slab. The remaining batches are also subject to processing.
On a flat platform, the two billets are mounted parallel to each other and placed two more perpendicular to them. From the resulting square, the first crown is made by fitting. It must be set using a level and then marked on both sides. It is important to remember that the size of the groove should not exceed ½ thickness for planting logs. The next billet is mounted in the finished groove and the top of the "claw" should be flush for better fit.
If the “claw ta was initially made wrong, it is already impossible to correct, but you can align it by driving a wooden wedge, but this is undesirable.
In the first step, you must select the type of log fastening before you cut a quality log house yourself.
This is necessary for a strong connection, otherwise the beam can walk.
Schematics of timber cutting walls.
One option is a spike assembly. In this case, a hole is made in the claw of the upper and lower false logs and a flat spike with a slightly larger diameter is introduced into it. They are placed in the checkerboard arrangement so as not to fall into the lower nail. For further strengthening of the structure, these nails may be mounted along the entire length of the slab, which will contribute to the exclusion of deformation during contraction.
Another option is better, but it is more difficult. A beginner will not. In this case, a spike protruding about 2 cm upwards should be left on the paw during preparation. The length of the nail should not exceed ¼ of the working surface of the claw. In the upper stacked billet, at the lower part, the corresponding cavity should be cut to the place where the spikes are inserted and the tabs are on top of each other. Often, the nails are arranged in the inner corner of the log house. This method of wall covering takes time and requires jewelry.
In order to avoid cold bridges when laying crowns, it is ensured that drawing or other heating materials are filled into cracks and voids.
The final step would be to run out of timber inside the log house. However, the views differed. Some people think that this kind of decoration allows you to make the interior more attractive and comfortable, another view is the exotic naturalness and style of the material.
After installation of the log house, the boards should be treated with antiseptic and antibacterial protective equipment, which prevents the decay of this material and the proliferation of wood insects and increases fire resistance.
Cutting to the “Claw ilave requires additional insulation of corners inside or outside the wooden house.
Swallow
Participate in "Dovetail" logs.
This chopping method is similar to "claw". In addition, this option has all the advantages of a log house in the "claw" and compensates for its shortcomings. In this case, the legs are not upright, but have a tilt angle. The angle has a radius that allows you to place the next paw on the previous one. Such a connection has disadvantages and advantages.
Disadvantages include:
The difficulty of making claws at an angle with their own hands. A novice should not try without the help of a master;
The inclination angle can permeate moisture in rainy weather, which can be visually visible after drying the log house and with the formation of cracks.
Technological flooring is no different from the claw log house, but there is a difference - at the end of the flooring there is a need to install waterproofing in the corners of the building to prevent moisture penetration. It is important to remember that wet wood can deform after drying.
Bowl chopping: basic features
Advantages of this type of log house:
Chopping into bowl
chopping into the bowl has a beautiful and aesthetic appearance;
Due to connectivity, this design is more durable and stable;
such a log house has good thermal insulation;
Due to its aesthetic appearance, it does not require additional finishing.
Disadvantages:
difficulty in assembly and woodwork;
More material is required, which means that the construction cost will be more expensive.
Connection occurs when the glasses are cut or cut. Since the corners of the log house have protruding ends of the logs, the space inside the building is reduced, but the stability increases, which allows several storeys to be made.
Preparation of logs before laying
Marking of the cups is done by a line that works like a compass. It is important to remember that the bowl should be placed in the lower part of the log, otherwise water may accumulate, resulting in rapid damage to the wood.
When installing the beam, the billets must be stacked one above the other so that the chamber follows the lines of the lower billet. The size of the receptacle shall not exceed half the cross section of the slab.
Because this method is more durable, there is no need to use an additional log connection using a pile or spike.
Sometimes you can't do it without a master to cut the log house correctly with your own hand. This is due to the complexity of some nodes, and the accuracy of their application depends directly on the experience and skills of working with wooden elements.
7AXX
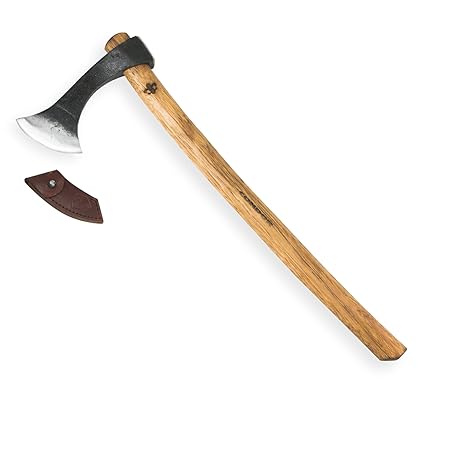
Condor Tool & Knife, Francisca Throwing Axe

![Gerber Gator Combo Axe II [22-41420]](https://images-na.ssl-images-amazon.com/images/I/51A9wcGGr0L._SX522_.jpg)